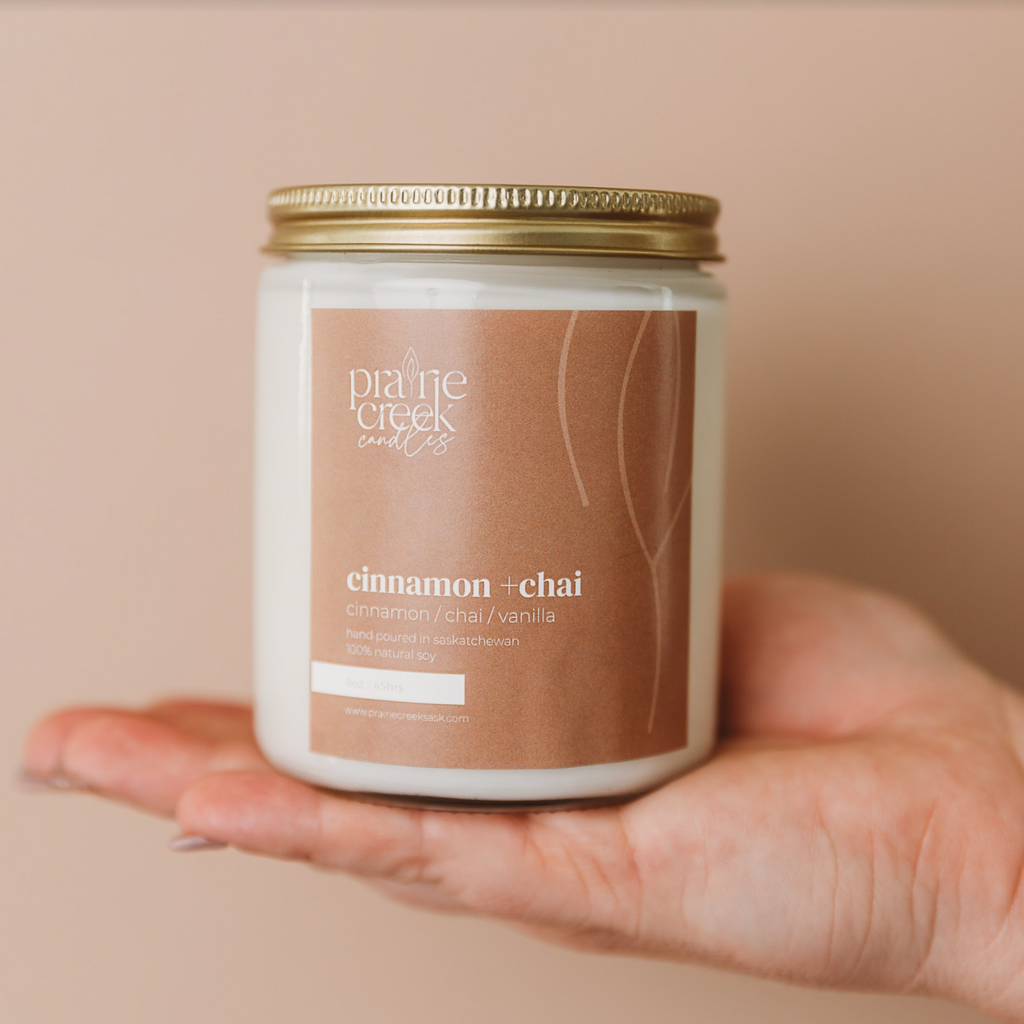
CARING FOR YOUR CANDLE
TIPS + TRICKS
Please be very careful every time you burn a candle.
If you need a quick reminder, we have included our candle burn instructions on the inside lid of every jar.
Wooden wick candles are amazing! Not only do they look cool but they crackle like a teeny wood stove. Sometimes wood wicks need a little extra care, so I'm pooling all of my candle knowledge here for you! Hopefully, these tips will help you learn how to get the longest burn out of your candle.
The first burn is the most important.
The first time you light your candle you must give your candle enough burning time to develop a melt pool that spreads all the way to the edge of the container. This may take a few hours depending on the size of the candle. Please don't burn any of your candles for longer than 4 hours at a time. After you've established a good consistent melt pool you won't have to burn your candle to the edge every time you light it (but I would still recommend doing so). If you don't enjoy burning your candles for long periods of time than smaller jars with smaller diameters may be the right purchasing choice for you.
Trim your wicks, PLEASE.
The most common problem I see in pictures of misbehaving candles is an untrimmed wick. Untrimmed wicks lead to tunneling. For the best burn, keep your wick trimmed to about 1/8" and make sure to clean off any burnt black crunchy bits from the last burn. You can use an old set of nail trimmers or just use your fingers to pinch off the edges. Be sure to trim your wicks after the wax has re-hardened from the last burn so you can just shake any wick pieces into the trash and they don't get stuck in your melt pool.
GET LIT
Lighting a wood wick candle is a bit different than lighting a traditional cotton wick. When lighting your candle tilt it on an angle and let the flame travel across the length of the wick so the whole wick is burning evenly. It may take more than once to light your wick, especially on the first go. There's no harm in trying again or if the wick looks too long be sure to trim it down a bit before firing it up. Your wick shouldn't produce smoke or soot, if it is that means it needs to be trimmed.
The woes of a tunneled candle (and how to fix it).
Candles, particularly soy candles, have a 'wax memory.' That basically means it can be hard to change a burning pattern once one has been established... this can lead to *gasp* TUNNELING. This is why it's so important to have a good first burn. Tunneling makes it more difficult for wax around the outer edges of the jar to melt so your candle will either burn straight down and waste tons of wax or just go out altogether because fresh oxygen can't flow in. If your wood wick or jar candle has developed some tunneling from shorter burns, you can usually fix it - here’s how:
First and best option: if your candle will stay lit, give it a good long burn until all the wax is melted to the edge of the jar, and you’ve effectively “reset” the memory of the wax.
The flame height may vary when you do this, but as long as there is still a burn, it should continue to create a melt pool, just be patient.
If your candle won't stay lit because your wick is drowning in its own wax pool you can try using a paper towel to soak up some of the extra wax. Then wait for a minute or so, relight your candle, and repeat until your wick has room to breathe!
If the above two won’t work, we’ve heard of people scraping out the wax near the edge of the jar, or even creating a little dome of aluminum foil around the rim of the container to help melt the hard wax at the edges.
Those are both last resort options though - so no guarantees!
Prairie Creek Candles is not responsible for poorly burned candles. Please burn your candles on a flat heat resistant surface away from drafts, pets, & children. Always burn your candles in sight.
Wick technology licensed by Lumetique, Inc.